If you haven’t configured n8n in your Zylon instance yet, you can check the n8n configuration manual here.
Getting Started
Once n8n is configured in your Zylon instance, you can access the n8n web interface, which is available by default at the following URL:https://n8n.<your_zylon_domain>.
It is possible that a custom domain was configured for n8n during the installation process.
Creating an Account in n8n
The first time you access the n8n instance, you’ll be asked to create an administrator account. This account will have full privileges to manage users, configure global settings, and administer all workflows in the instance. Steps to create the administrator account:- Go to
https://n8n.<your_zylon_domain>/n8n - Complete the registration form
- Accept the terms of use
- Click “Create account”
Creating New Users
Additional users can be invited to the n8n instance through invitation links. Each user can have one of two roles: Administrator (full access) or Member (limited access to assigned workflows and credentials). Steps to invite users:- Click the user icon (bottom left corner)
- Select Settings > Users
- Click the “Invite” button
- Enter the new user’s email address
- Select the appropriate role:
- Administrator: Full access to configuration, users, and all workflows
- Member: Access only to shared workflows and credentials
- Click “Create invite link”
- Share the invitation link with the new user
Connecting to Zylon Chat Model
To connect n8n with Zylon’s chat models, you can use the Anthropic node that comes integrated with n8n, as Zylon is compatible with Anthropic nodes in n8n, enabling seamless integration. The prerequisites are:- Having a Zylon API token (see Backoffice Developer Console)
Credential Configuration
- Navigate to the Credentials section in n8n
- Create a new credential by selecting “Anthropic”
- Configure the following options:
- Name: Descriptive name for the credential (e.g., Zylon) (The name is modified in the upper left corner of the form)
- API Key: The Zylon API token
- Base URL: The Zylon API URL, which is generally
https://<your_zylon_domain>/api/gpt
- Save the credential (if everything goes well, “Connection tested successfully” will appear)
Creating a Simple Workflow
Now that we have the credentials, we can create a simple workflow that uses Zylon’s chat model.- Navigate to the Workflows section in n8n
- Create a new workflow
- Add an “Anthropic Chat Model” node to the workflow
- Configure the node with the following options:
- Credentials: Select the Anthropic credential we created earlier
- Model: Select “By ID” and enter “default” to use the default model in your Zylon instance.
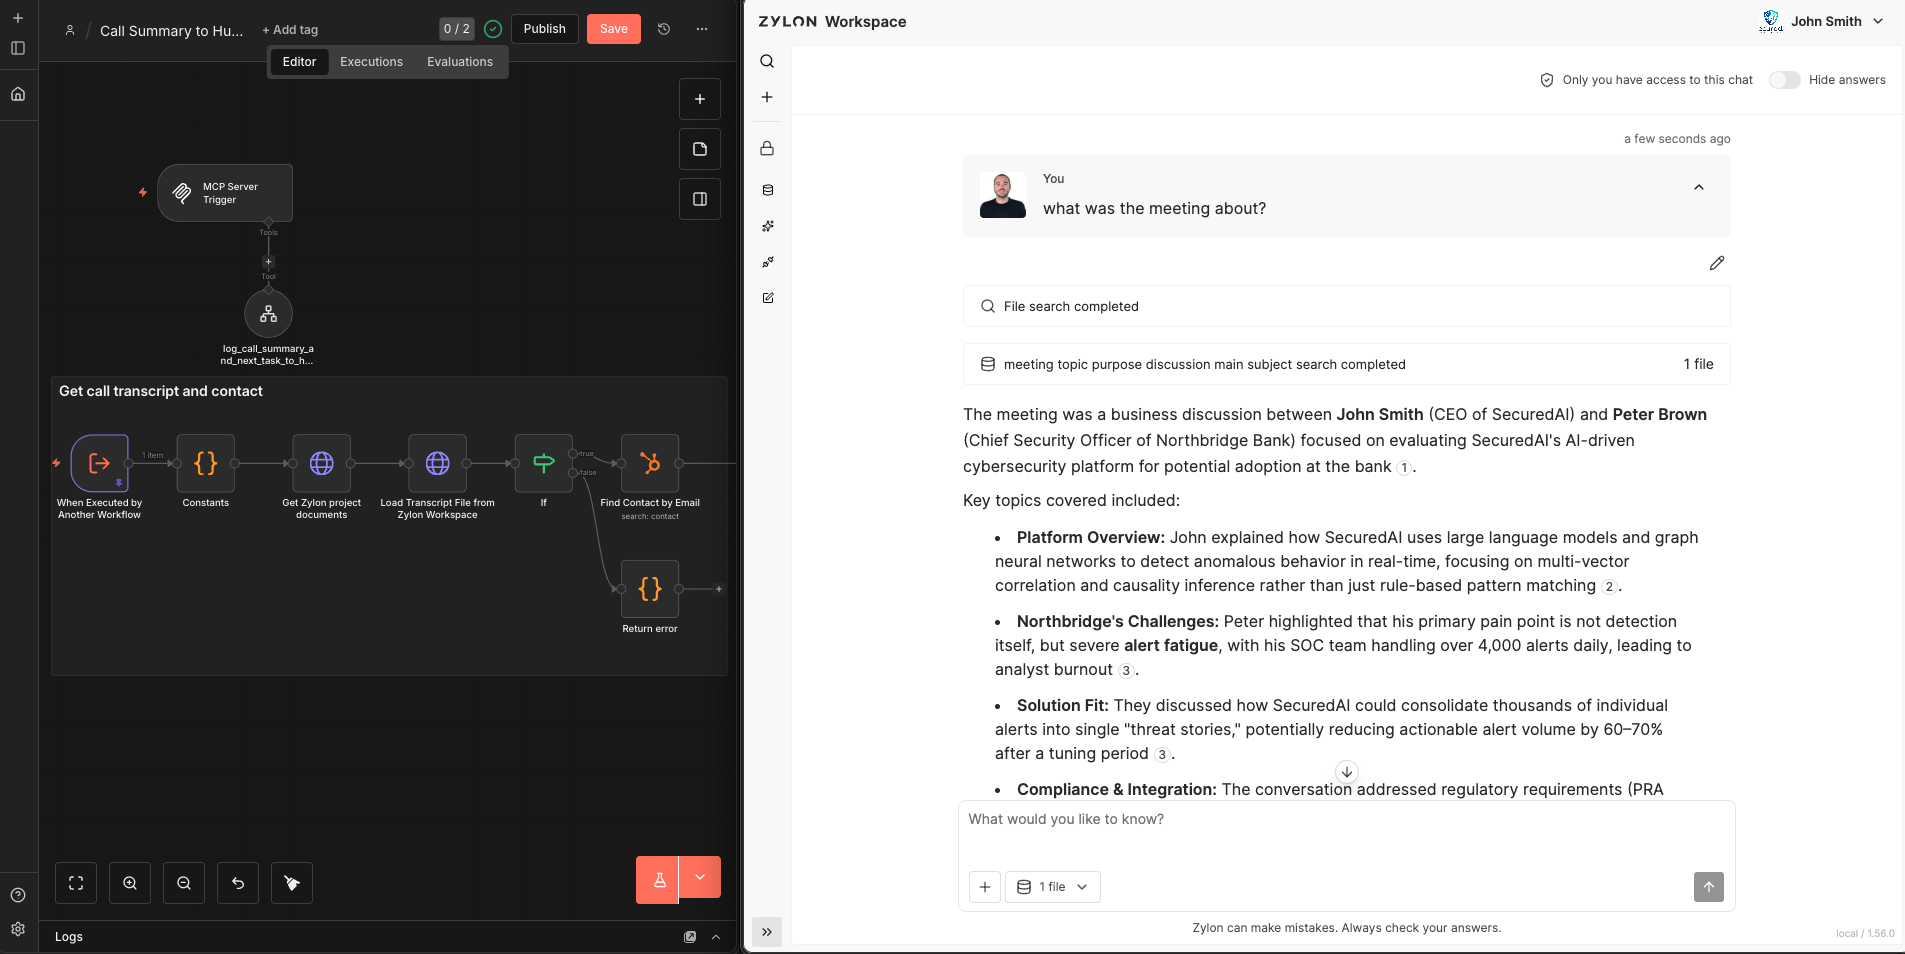
Using MCP from Chat to Connect with n8n Workflows
Zylon also allows you to use MCP (Model Call Protocol) from the chat to interact with n8n workflows. This enables users to execute workflows directly from the chat interface. To do this, you must first create a workflow in n8n that is designed to be called from MCP.Creating a Workflow in n8n for MCP
- Navigate to the Workflows section in n8n
- Create a new workflow
- Add an “MCP Server Trigger” node to the workflow
- Set Authentication to Bearer and create or select a Bearer credential
- Name: Use a descriptive name (e.g., Zylon MCP)
- Bearer Token: Generate a long, secure token and save it—you will need it when connecting from Zylon
- Copy the “Production URL” generated in the MCP Server Trigger node and configure the remaining options according to your needs
- Add tools to the MCP Server Trigger node to define the actions you want the workflow to perform when called from Zylon chat
- Go back to the workflow main page and activate the workflow by clicking the toggle button in the upper right corner
More information about the MCP Server Trigger node in n8n can be found here.
Calling the Workflow from Zylon Chat Using MCP
Once the workflow is configured and tested in n8n, we can call it from Zylon chat using MCP.- Open the chat interface in Zylon
- Select a project and navigate to the connectors section
- Click “New Connector” and select “Add MCP Server”
- Configure the following options:
- Name: Descriptive name for the connector (e.g., n8n MCP)
- MCP Server URL: Paste the “Test URL” we copied from the MCP Server Trigger node in n8n
- Authentication: Select Bearer
- Bearer Token: Paste the secure token you created in n8n for this connector
- Click “Connect” (if an error occurs, make sure the workflow in n8n is active)
- Navigate to the chat section and select the MCP connector we just created
- Now we can send messages in the chat that will call the workflow in n8n through MCP