Create a new Oauth application for Zylon
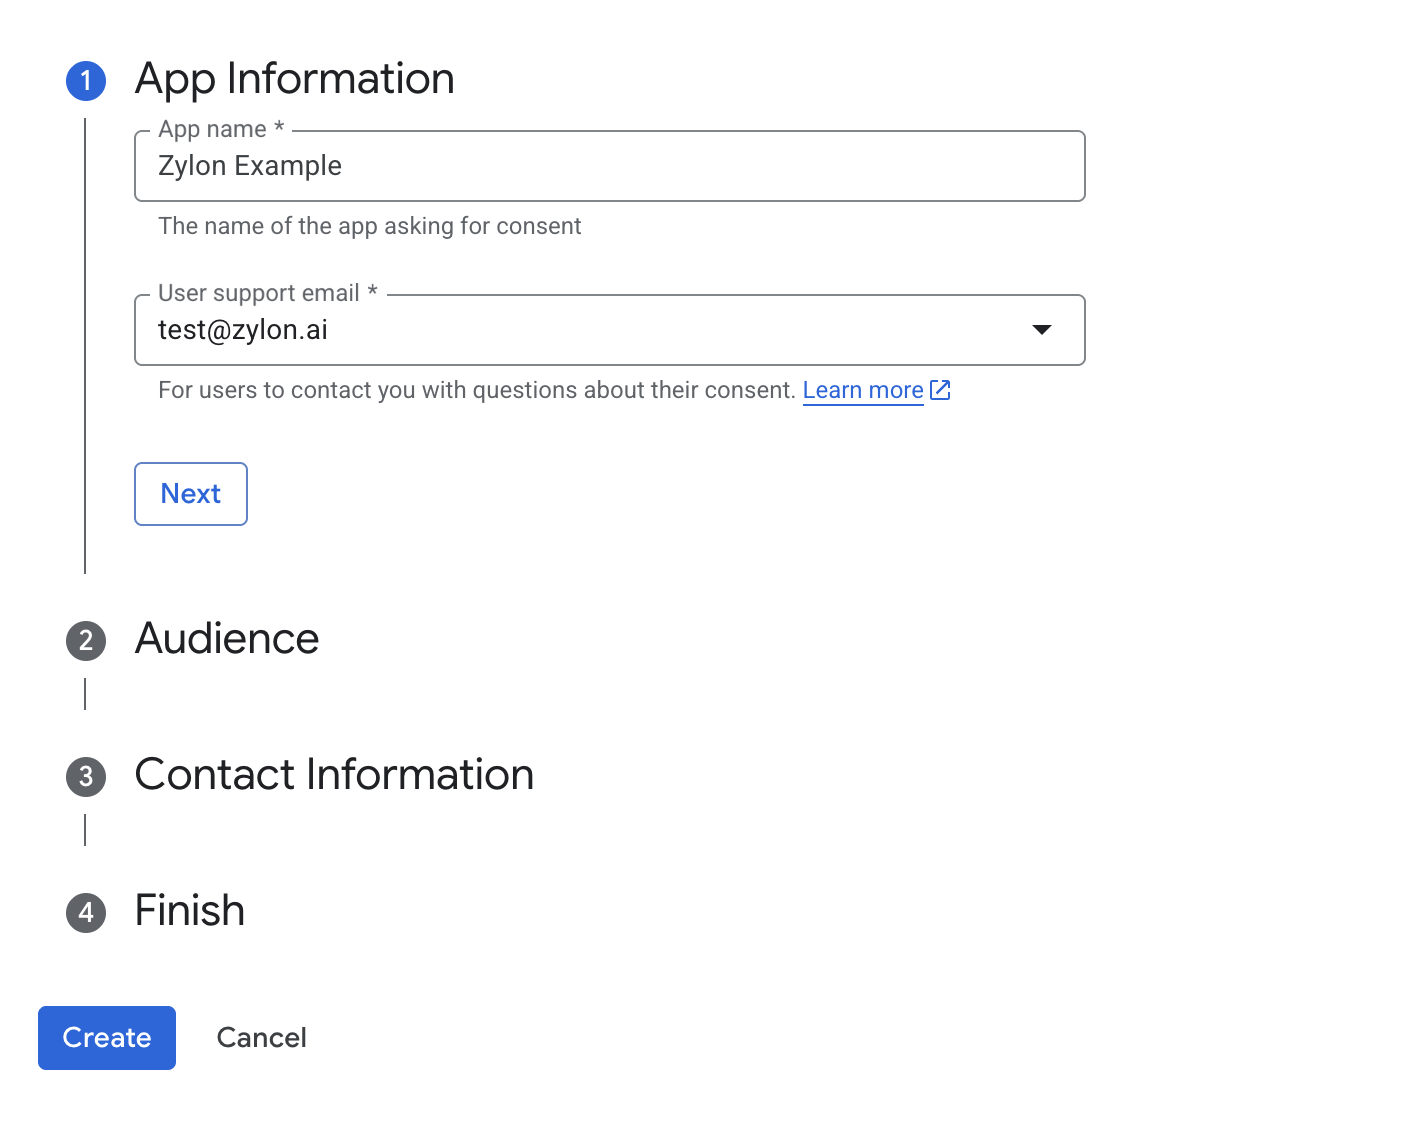
In order to enable Google SSO for Zylon, you need to create an OAuth 2.0 application in the Google Cloud Console. Navigate to the Google Cloud Console.You might need to create a new Google project for Zylon if you don’t have one already to host the OAuth application.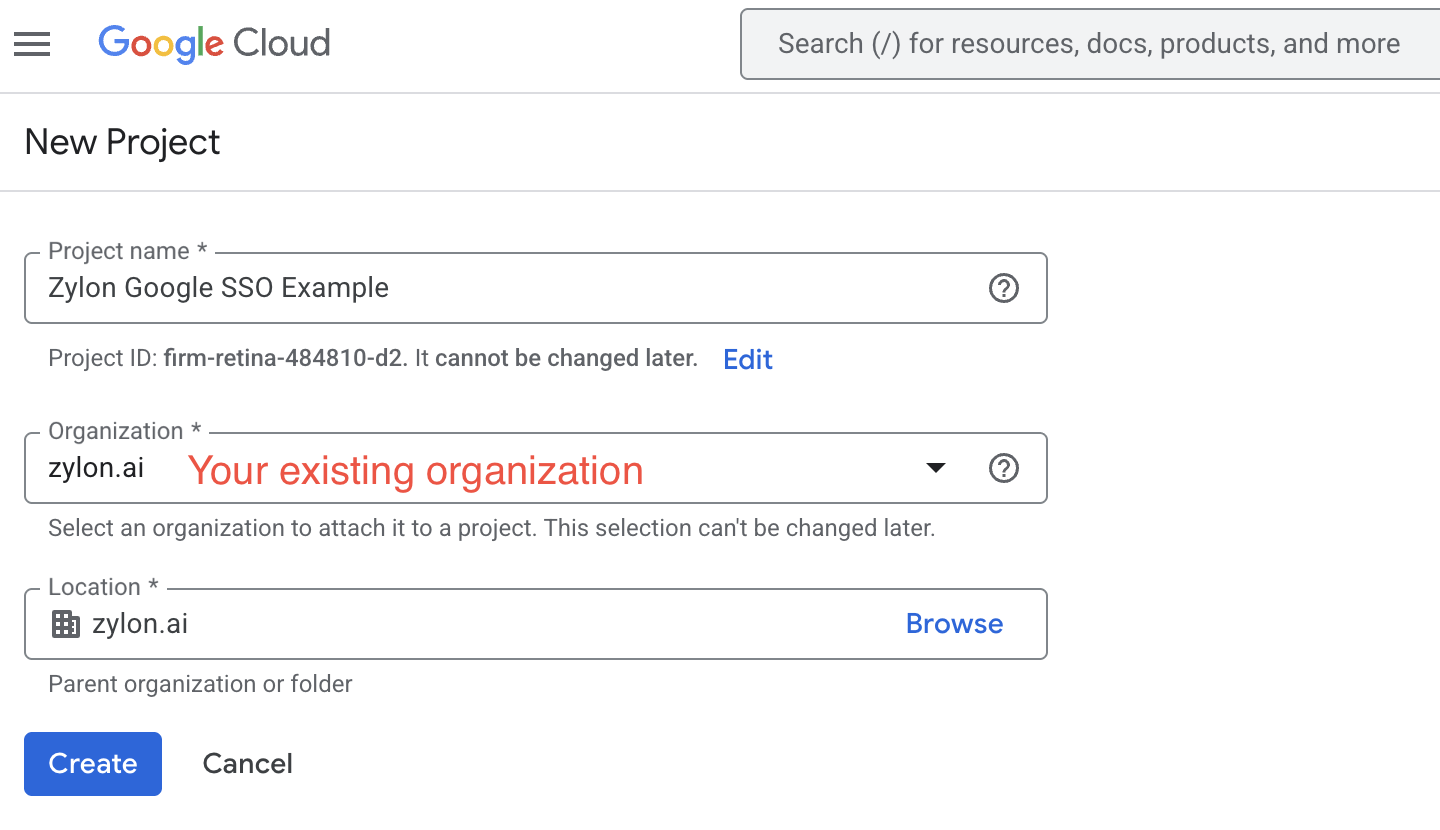
Configure the Oauth client
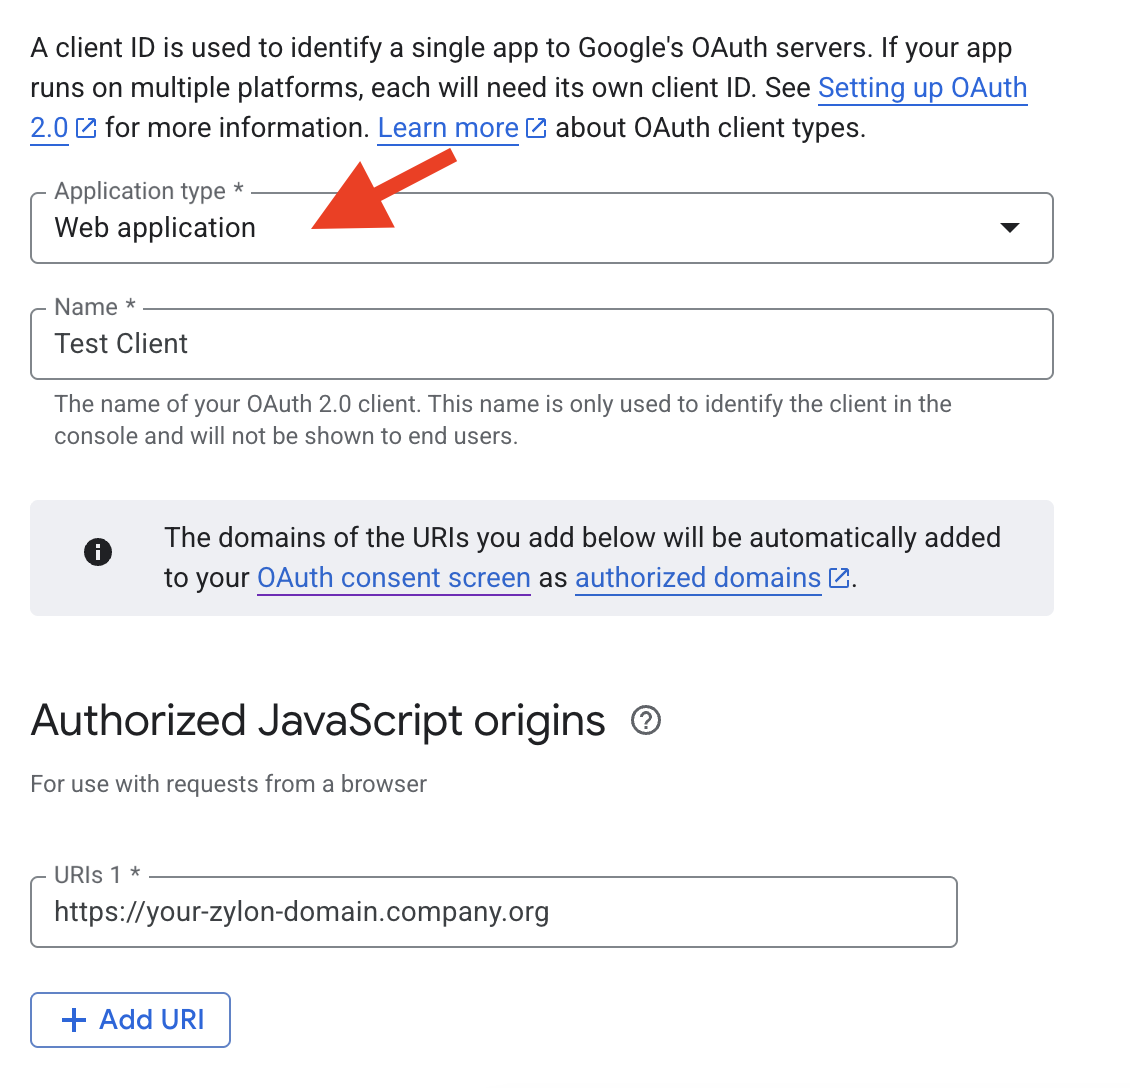
Next, configure the Oauth client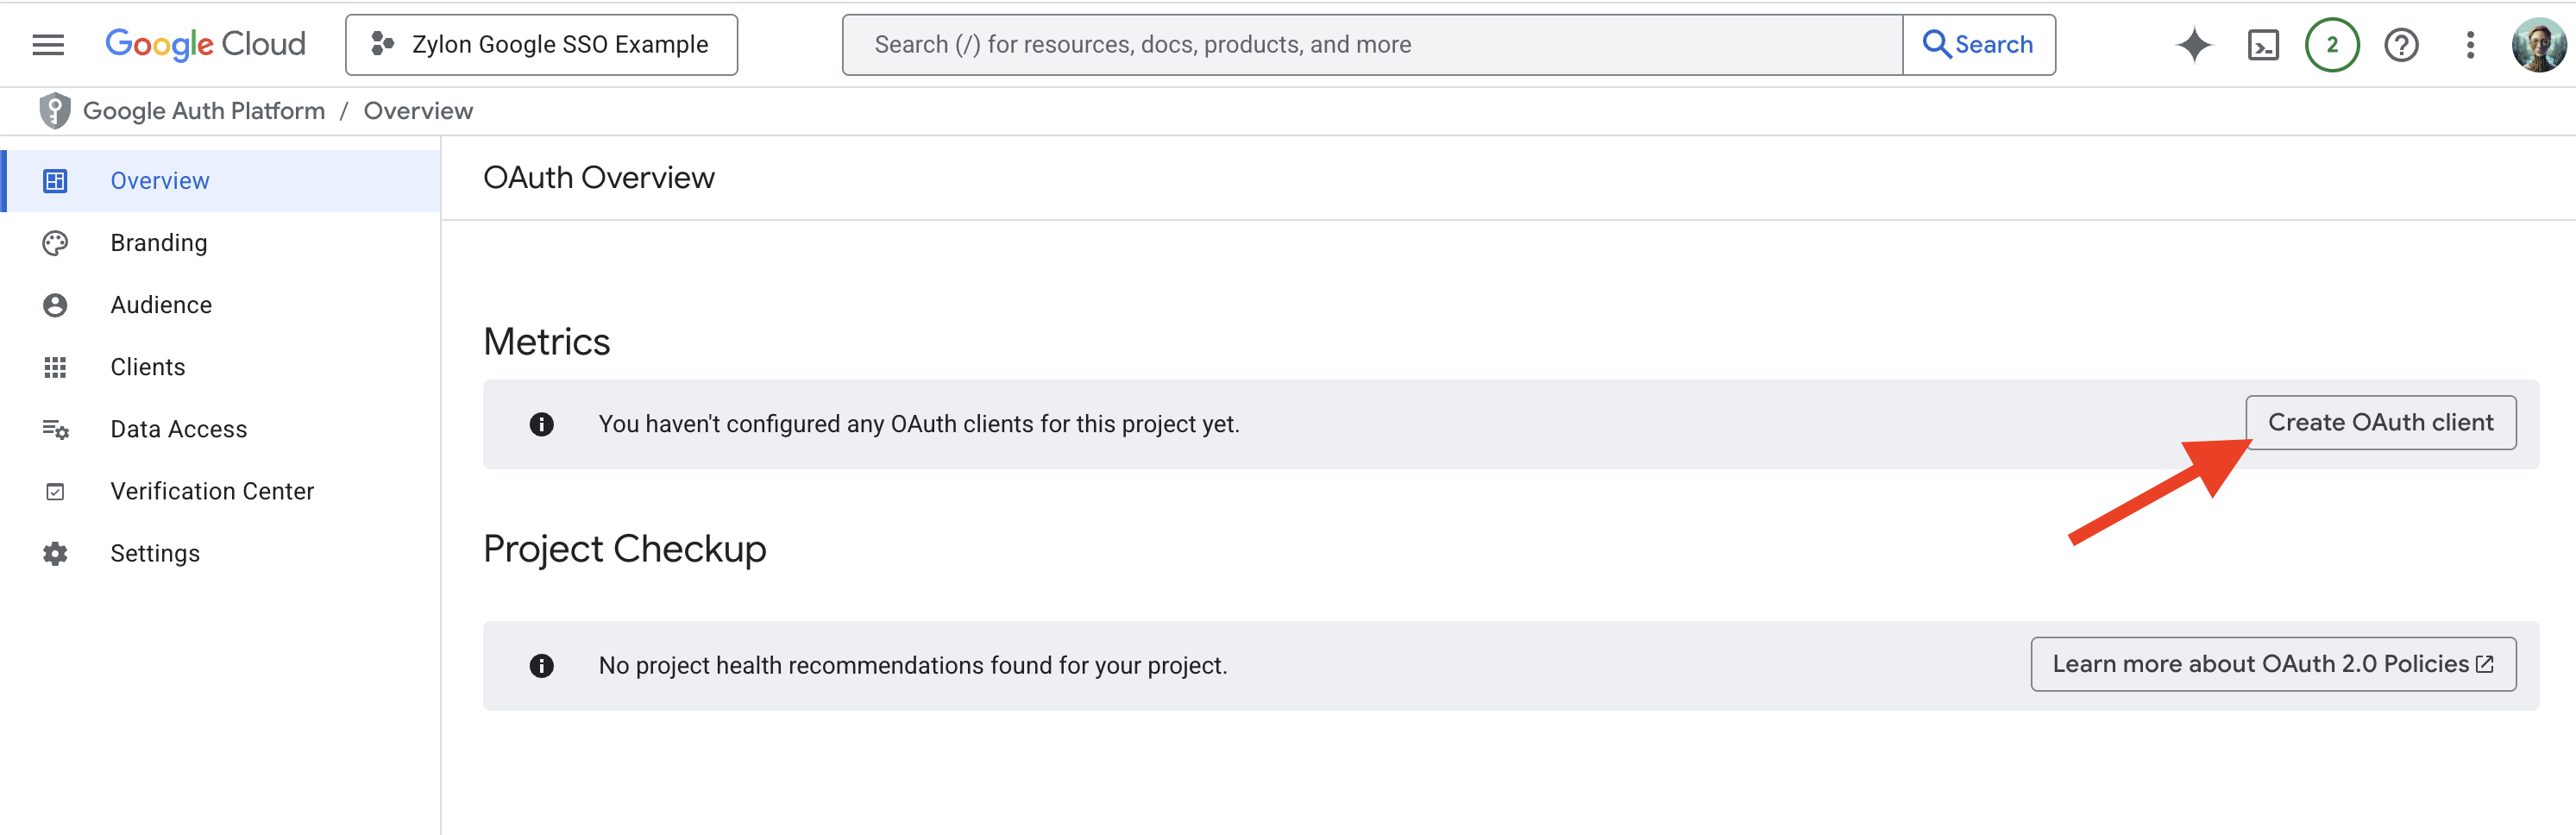
- The application type is set to Web application.
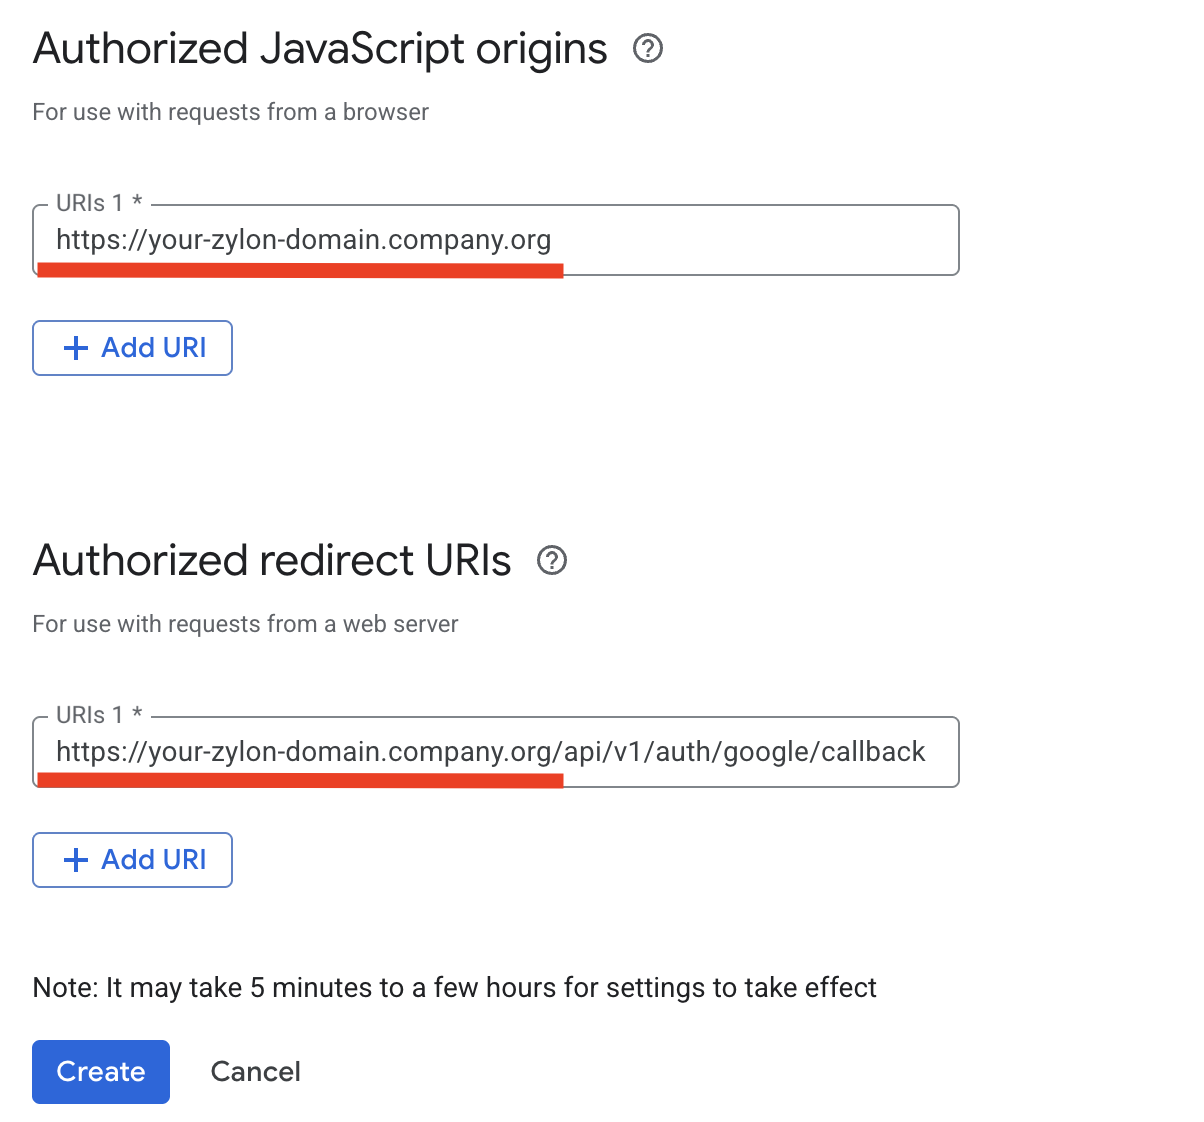
- The allowed JavaScript origins is set to
https://zylon.company.com, replacingzylon.company.comwith the domain where Zylon is hosted (It is the same domain as the host in the config file located in/etc/zylon/zylon-conf.yaml). - The authorized redirect URI is set to
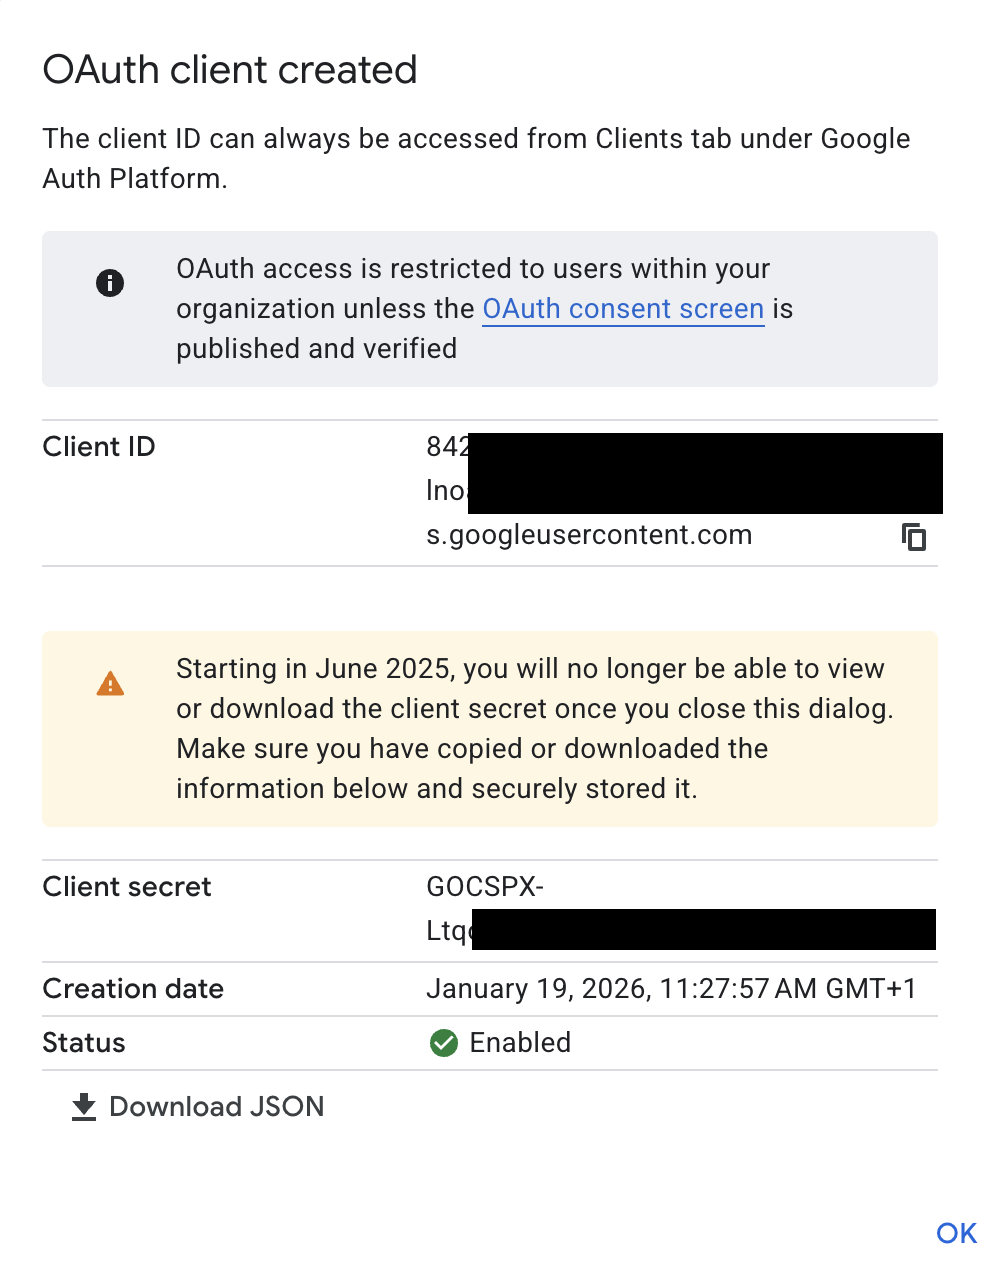
https://zylon.company.com/api/v1/auth/google/callback, same as above replacezylon.company.comwith the domain where Zylon is hosted. - Apply the changes and save the
Client IDandClient Secretthat will be used later in the config file for Zylon.
/api/v1/auth/google/callback:
Client ID and Client Secret:
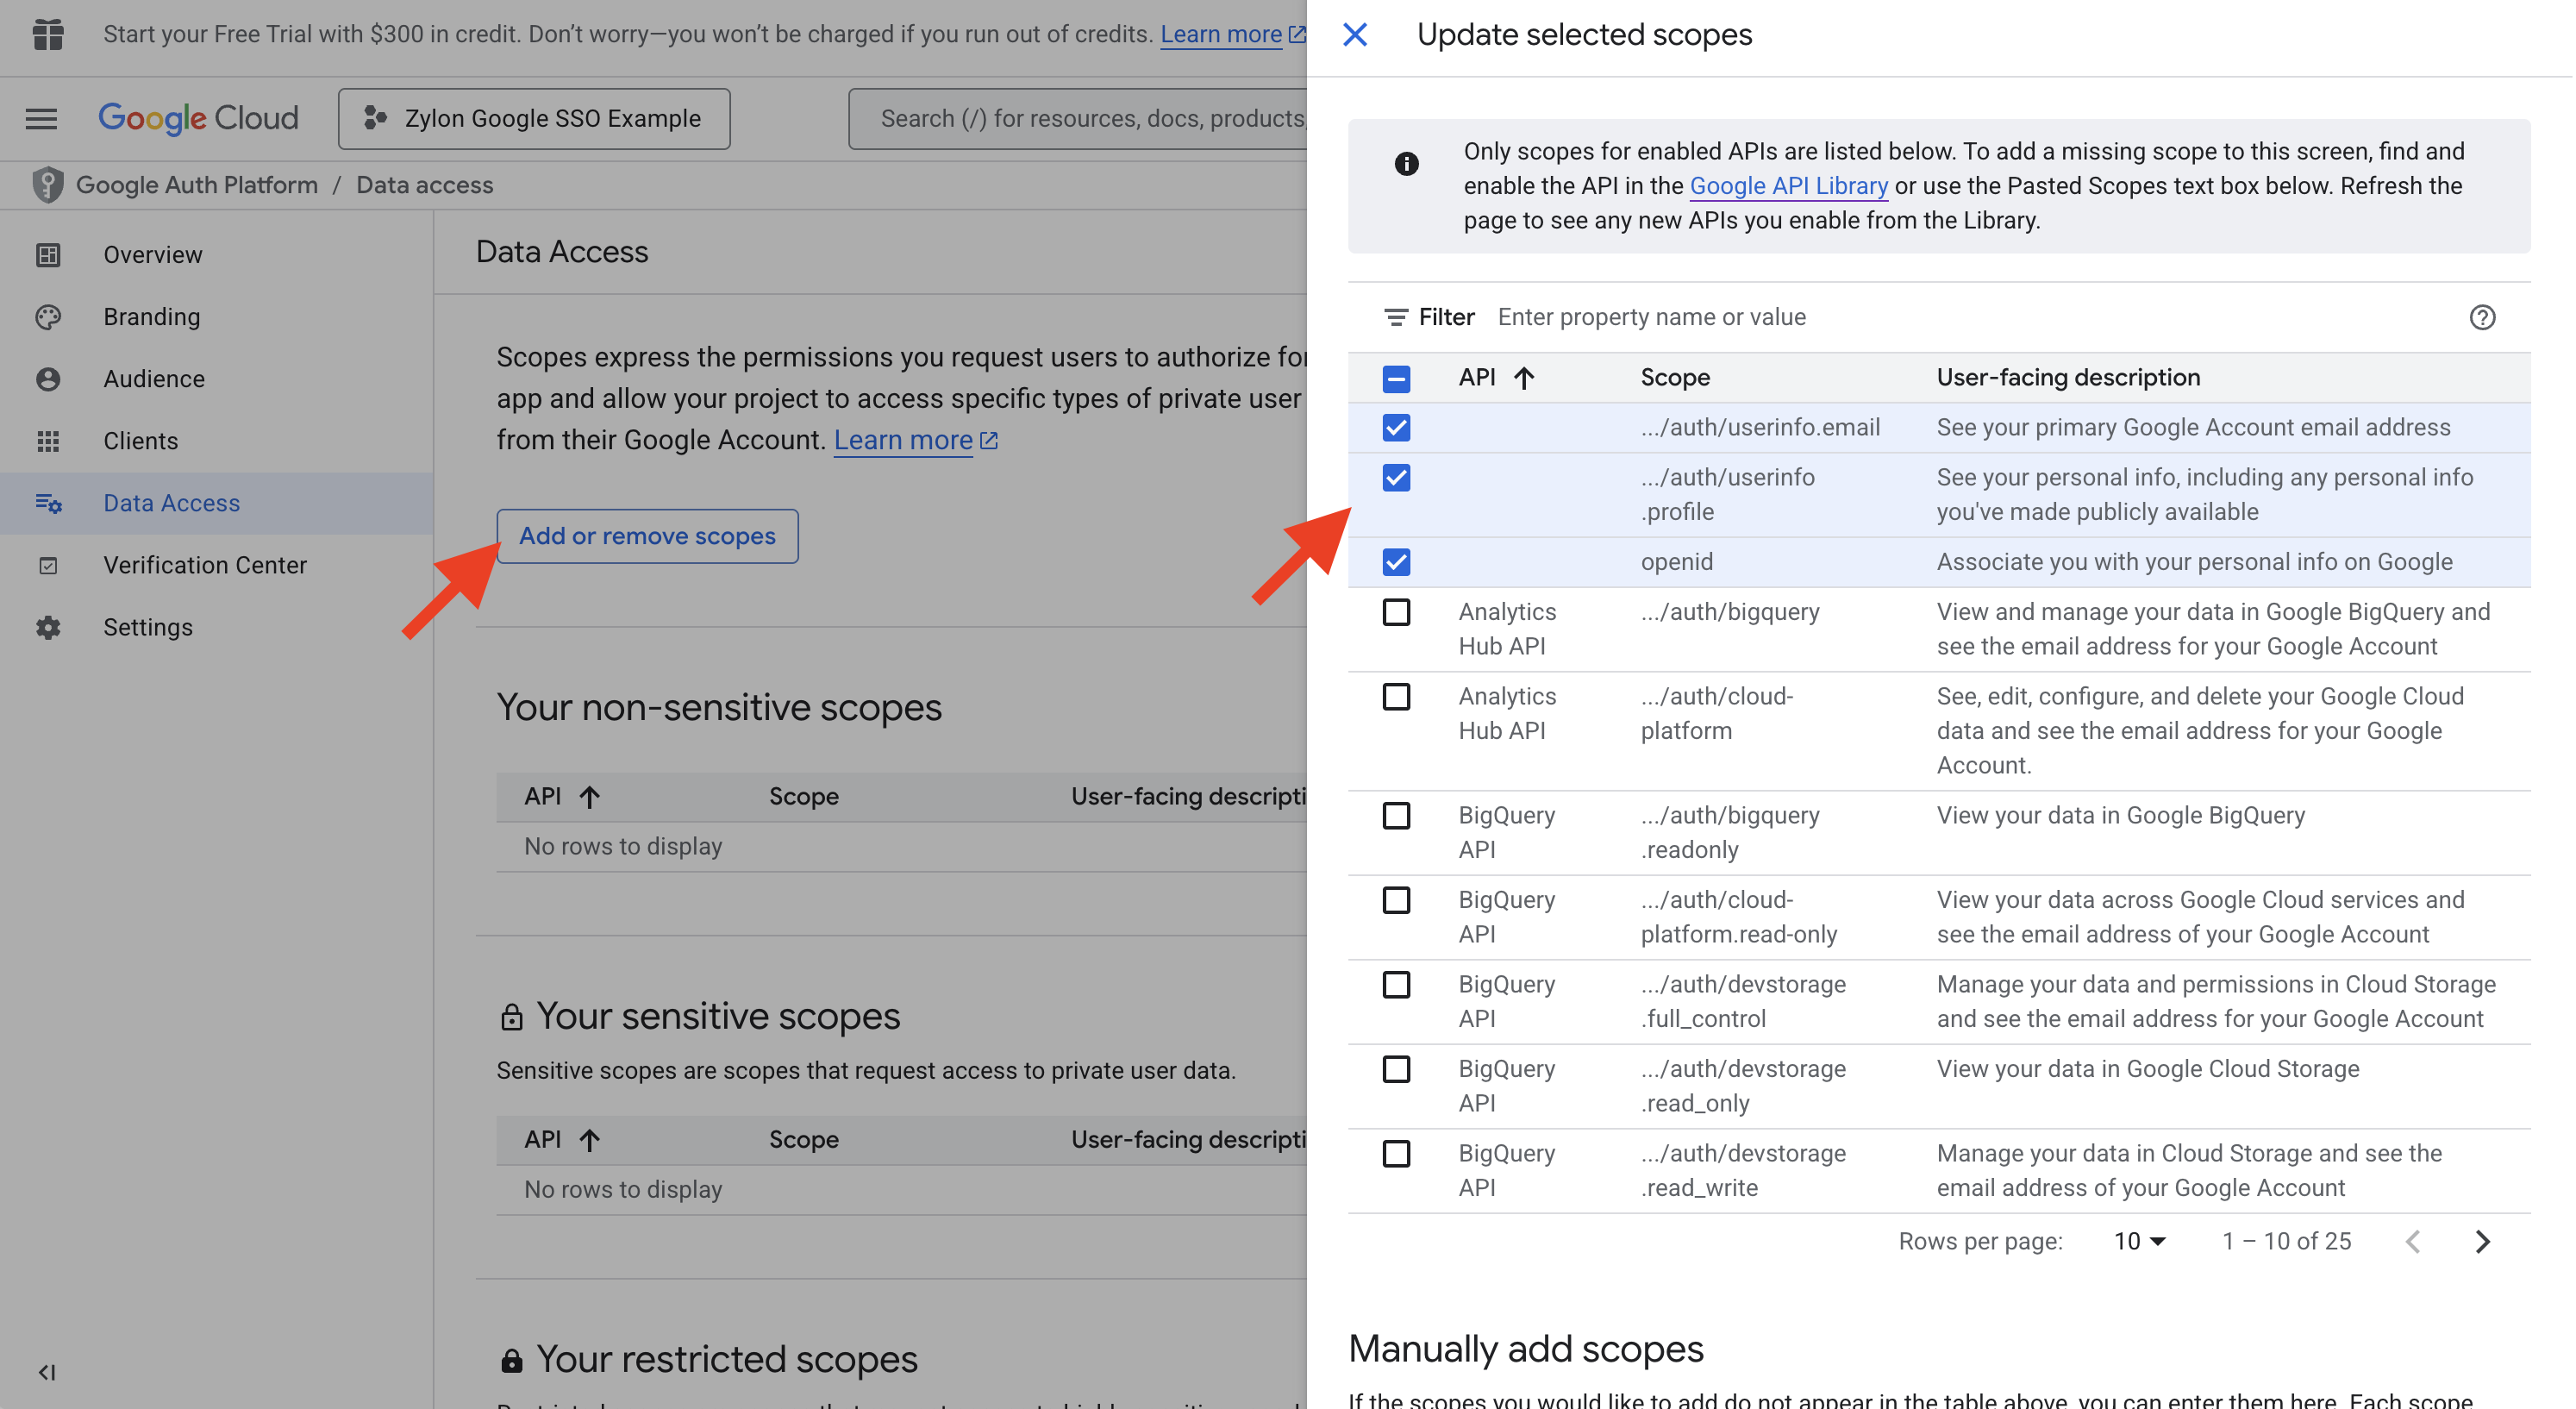
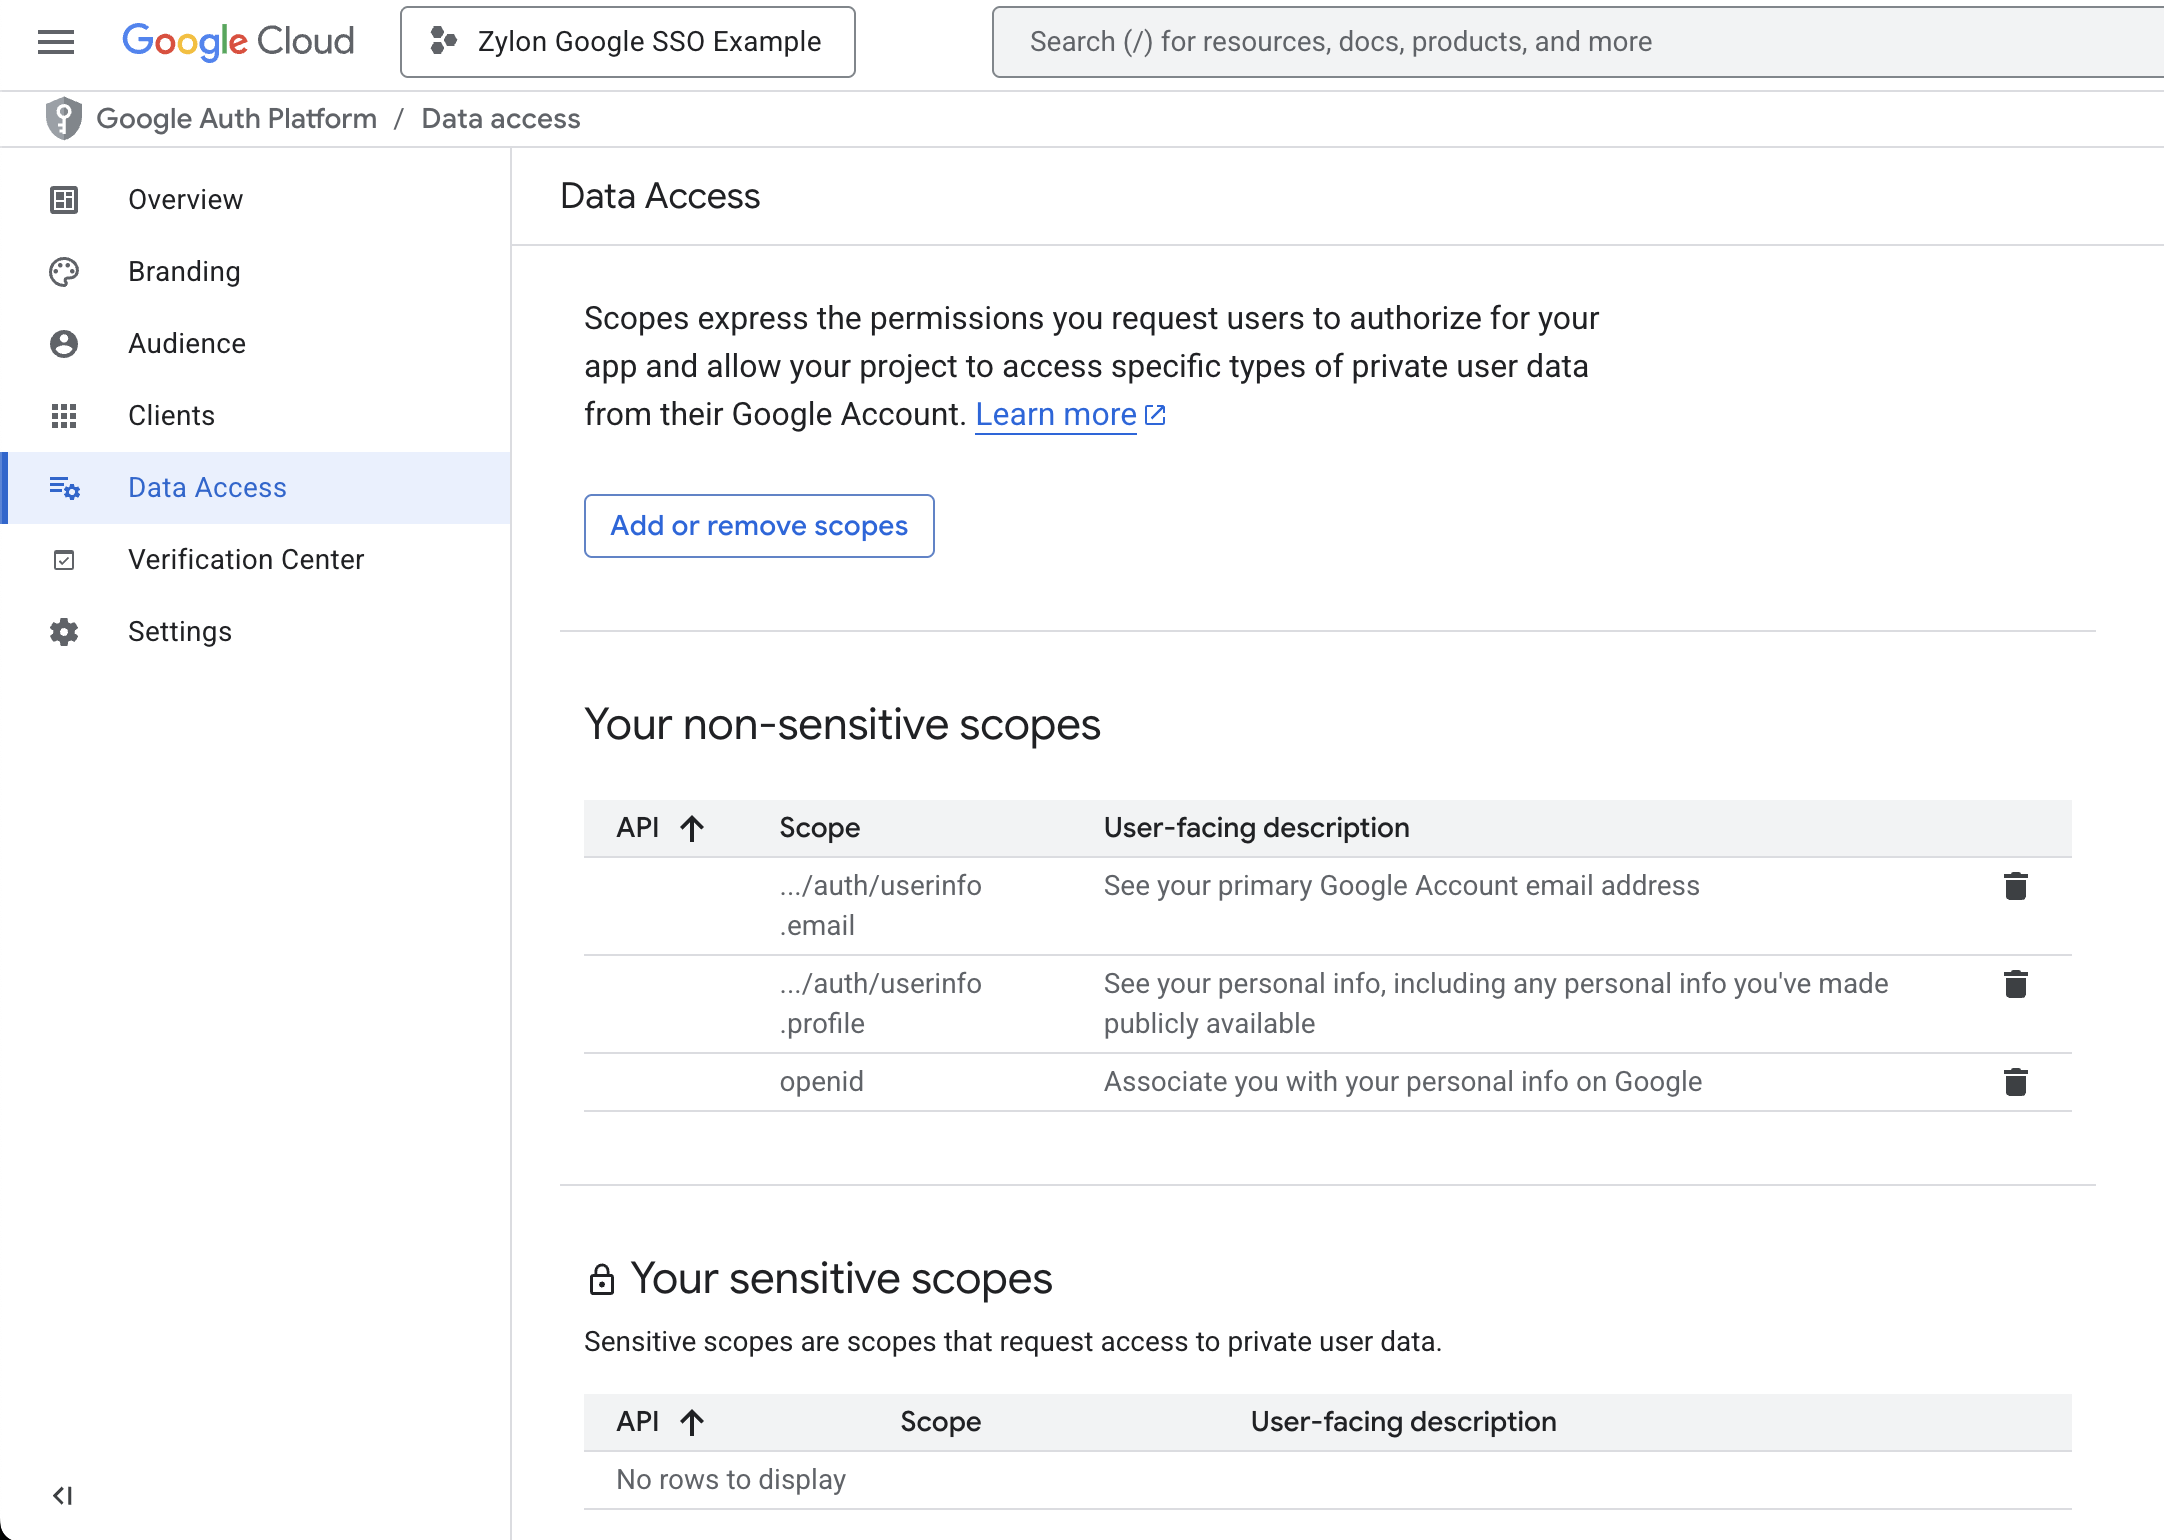
Grant openid scope
Navigate to the Data Access/Scopes section, and add the following scopes to your application:- auth/userinfo.email (To get the user email)
- auth/userinfo.profile (To get user’s name and profile picture)
- openid (To authenticate users with OpenID Connect)
Add the configuration to Zylon
Add the following configuration to/etc/zylon/zylon-conf.yaml,
replacing the clientId and clientSecret values with the ones obtained in the previous steps
and the redirectUri with the correct domain where Zylon is hosted.